
Set up BuddyPress
Install BuddyPress, choose components, assign its pages, then the directory and profile settings Reign adds once it detects the plugin.
Reign styles BuddyPress once it is active. It does not install or configure BuddyPress itself, and none of the settings below appear until BuddyPress is running.
Running BuddyNext instead? The two cannot both be active - see set up BuddyNext.
1. Install and activate
Go to Plugins > Add New, search for “BuddyPress”, then Install Now and Activate.
If you have not installed a community plugin yet, Reign Settings > Community tells you so directly: it shows an empty state (“Community features are off”) with a Browse plugins button that takes you straight to a BuddyPress search in Plugins > Add New.
2. Choose your components
BuddyPress runs its own setup, and you can revisit it any time at Settings > BuddyPress > Components. Turn on the ones your site needs. Groups and Activity matter most for the layouts described below: if a component is off, its directory does not exist, and Reign has nothing to style there.
3. Assign the pages
Settings > BuddyPress > Pages maps each active component to a real WordPress page. Do this before you move on. Skip it, or leave a dropdown empty, and that component’s URLs return a 404 rather than a broken-looking page. See member or group pages return 404 if that happens.
What Reign adds
With BuddyPress active, a Community Settings panel appears in the Customizer (Appearance > Customize):
- General - a Round Avatars switch, for circular avatars across members and groups.
- Activity Directory, Members Directory, Groups Directory - the sidebar layout (left, right, both, or full width) for each directory screen. These three sections need BuddyPress 12 or newer, or the BP Classic compatibility plugin on older versions.
- Member Profile and Single Group - the navigation style on a single profile or group page, Default or Icon + Label.
- Navigation - how the main and sub navigation on those single screens display: Swipe, Text + Icons, or More.
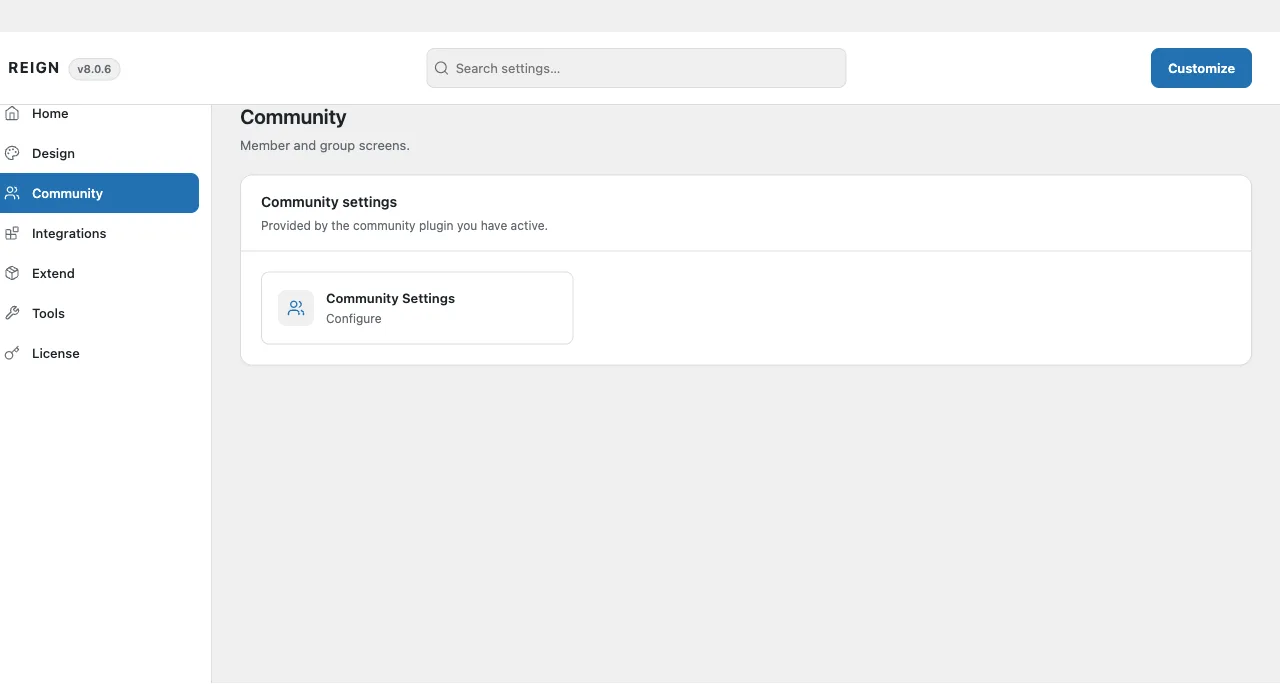
Reign Settings also gains a Community Settings tile (Reign Settings > Community), with three tabs:
- Avatar Settings - the default avatar shown for members and for groups before anyone uploads their own.
- Member/Group Cover Header Layout - the header position (inside or top of the cover) and four cover-header layouts for single member and single group pages, plus four directory layouts that set how members and groups appear in their directory grids.
- Advanced Settings - members-per-page and groups-per-page counts, toggles for cover-image and group-image activity updates, and custom social-link fields for member profiles.
See member and group directories for the choices that actually matter among these.
Then check it
Load /members/, /groups/, and a single member profile. Confirm the
sidebar and directory layout match what you set, and that the single-profile
navigation reads correctly on a phone.
If any of those URLs return a 404 instead of the expected screen, work through member or group pages return 404 rather than assuming the theme is broken.