Screenshots are one of the simplest yet most powerful tools on any computer. Whether you’re capturing a tutorial, documenting an error message, or saving content for future reference, the ability to quickly snap what’s on your screen is essential. Windows users have long relied on the Snipping Tool for this purpose. While the built-in app gets the job done, many people still don’t know about its time-saving shortcuts—or the variety of excellent alternatives available.
If you’ve ever found yourself fumbling to take a screenshot at just the right moment, this guide is for you. We’ll explore the best 10 Snipping Tool shortcuts and dive into the top alternatives Windows users can adopt for faster, smarter screen captures.

What Is the Snipping Tool?
The Snipping Tool is a screenshot utility included in Windows since Vista. It allows you to capture a portion of your screen—or the entire screen—and save it as an image file. Over the years, Microsoft has improved it, and today it comes merged with Snip & Sketch, making it even more powerful.
Unlike the basic “Print Screen” function, the Snipping Tool offers multiple capture modes: free-form, rectangular, window, and full-screen snips. This flexibility makes it useful for everyone from students and professionals to gamers.
However, knowing its features is just half the battle. The real magic lies in learning its shortcuts.
Why Use Snipping Tool Shortcuts?
Time is valuable, especially when working on tasks that require precision and speed. Manually opening the Snipping Tool every time you want to take a screenshot can slow you down. Shortcuts, on the other hand, let you capture your screen instantly.
With the right keystrokes, you can bypass menus, launch specific capture modes, and even copy images directly to your clipboard for quick sharing. In professional environments where efficiency matters, mastering these shortcuts makes a noticeable difference.
How Snipping Tool Shortcuts Work
Shortcuts are combinations of keys that trigger specific actions. Instead of navigating through the start menu or clicking multiple buttons, you press a few keys to achieve the same result.
In Windows, the Snipping Tool (and Snip & Sketch) integrates with keyboard shortcuts like Windows + Shift + S. Once activated, it lets you select the capture mode instantly. Add in features like delayed snips, annotations, and direct sharing, and you have a workflow that feels effortless.
Now, let’s break down the 10 best Snipping Tool shortcuts every Windows user should know.
The 10 Best Snipping Tool Shortcuts
1. Windows + Shift + S
This is the primary shortcut for Snip & Sketch. It instantly launches the snipping overlay, allowing you to choose between rectangular, free-form, window, and full-screen snips.
2. Alt + N (Inside Snipping Tool)
When the Snipping Tool window is open, pressing Alt + N lets you select the type of snip you want to take. It’s a fast way to switch modes without using your mouse.
3. Ctrl + S
After taking a screenshot, press Ctrl + S to save your snip immediately. This avoids extra clicks and ensures your capture is preserved.
4. Ctrl + C
Need to paste your screenshot into an email or chat? Simply press Ctrl + C to copy your snip to the clipboard, then paste it anywhere.
5. Ctrl + P
For professionals who often need physical copies, Ctrl + P quickly prints your snip directly from the tool.
6. Alt + M (Inside Snipping Tool)
This shortcut lets you choose the snipping mode from a drop-down menu. It’s helpful if you frequently switch between rectangular and free-form captures.
7. Esc
Press Esc to cancel a snip in progress. This is useful if you change your mind mid-selection.
8. Windows + PrtScn
Although not exclusive to Snipping Tool, this shortcut captures the entire screen and saves it automatically in the “Screenshots” folder under Pictures.
9. Alt + Tab (Switching Windows for Snips)
When preparing for a window snip, use Alt + Tab to quickly switch between open windows before selecting the one to capture.
10. Fn + PrtScn (On Some Laptops)
Certain laptops require the Function key to activate Print Screen. Pair it with the Snipping Tool for flexibility when capturing.
Alternatives to the Snipping Tool
While the Snipping Tool is reliable, it isn’t always enough for advanced needs. Windows users often need features like scrolling captures, instant cloud uploads, or team collaboration. That’s where alternatives shine.
Here are the 10 best Snipping Tool alternatives for Windows in 2025:
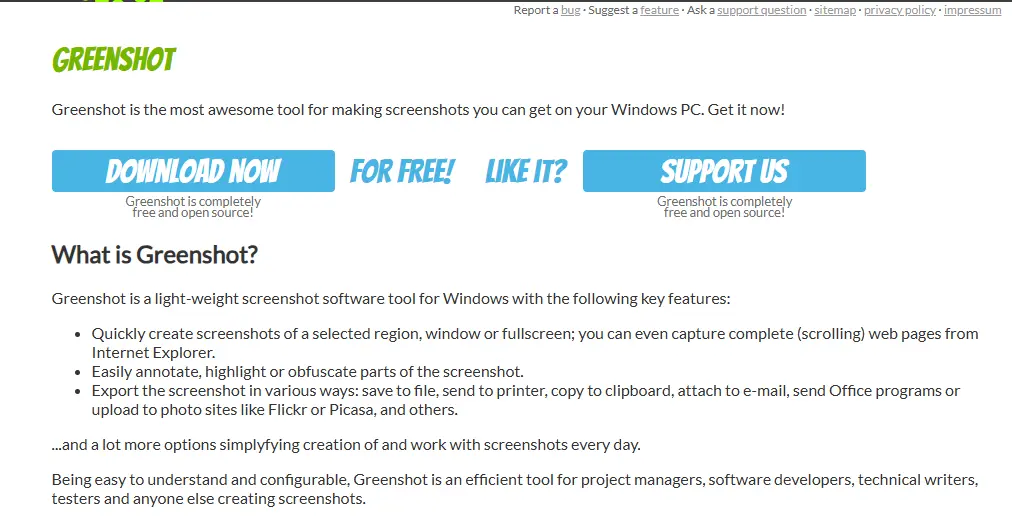
1. Greenshot
Summary: Greenshot is a lightweight, open-source tool designed for efficiency.
Key Features:
- Quick region and window capture.
- Built-in editor with annotation options.
- Direct upload to services like Imgur.
- Keyboard shortcuts for every capture mode.
2. Lightshot
Summary: Lightshot emphasizes simplicity and sharing.
Key Features:
- Easy-to-use interface.
- Instant online sharing with a link.
- Quick editing tools.
- Cross-platform support (Windows and Mac).
3. ShareX
Summary: ShareX is a powerhouse for power users.
Key Features:
- Over 10 capture modes, including scrolling capture.
- Advanced editing and workflow automation.
- Direct upload to multiple cloud platforms.
- Free and open-source.
4. PicPick
Summary: PicPick blends screen capture with design tools.
Key Features:
- Screenshot capture plus ruler, color picker, and protractor.
- Advanced editing tools for professionals.
- Customizable hotkeys.
- Free for personal use.
5. Snagit
Summary: Snagit is a premium alternative with enterprise features.
Key Features:
- Scrolling captures for full web pages.
- Powerful editor with templates.
- Screen recording capabilities.
- Cloud and team sharing tools.
6. Flameshot
Summary: Flameshot is a customizable, open-source option.

Key Features:
- Modern annotation tools.
- Customizable shortcut keys.
- Lightweight and fast.
- Popular with developers and designers.
7. Nimbus Capture
Summary: Nimbus combines screenshots with productivity tools.
Key Features:
- Screenshot and screen recording.
- Integration with Nimbus Note.
- Annotation and sharing options.
- Chrome extension for browser captures.
8. Droplr
Summary: Droplr focuses on business collaboration.
Key Features:
- Instant link sharing for captures.
- Cloud storage integration.
- Team-oriented annotation tools.
- Works across Windows and macOS.
9. Screenpresso
Summary: Screenpresso is a versatile tool with strong documentation features.
Key Features:
- Captures with automatic saving.
- Built-in document generator for tutorials.
- Quickly share to cloud platforms.
- A portable version is available.
10. Apowersoft Screen Capture Pro
Summary: Apowersoft offers a professional-grade capture suite.

Key Features:
- Flexible capture modes.
- Task scheduler for automated screenshots.
- Editing tools with cloud storage integration.
- Screen recording support.
Comparison Table: Snipping Tool Alternatives
| Tool | Best For | Key Features | Cost |
|---|---|---|---|
| Greenshot | Lightweight & fast | Region capture, Imgur upload | Free |
| Lightshot | Quick sharing | Online link sharing, simple editing | Free |
| ShareX | Power users | 10+ capture modes, automation | Free |
| PicPick | Designers | Editing and design tools | Free (personal) |
| Snagit | Professionals | Scrolling capture, templates | Paid |
| Flameshot | Developers | Customizable annotation tools | Free |
| Nimbus Capture | Productivity | Screenshots and screen recordings | Freemium |
| Droplr | Teams | Cloud sharing, collaboration | Paid |
| Screenpresso | Documentation | Auto-save, PDF generation | Freemium |
| Apowersoft Pro | All-in-one suite | Scheduler, recorder, cloud | Paid |
Tips for Using Snipping Tools Efficiently
To maximize the power of the Snipping Tool and its alternatives:
- Memorize shortcuts to save time.
- Use annotations to add clarity to screenshots.
- Save directly to the cloud for easy sharing.
- Explore scrolling capture in advanced tools for web pages.
- Set custom hotkeys in alternatives like ShareX or PicPick.
These small habits lead to major productivity gains.
Common Mistakes to Avoid
Even with great tools, users sometimes fall into traps:
- Relying only on Print Screen: This limits flexibility.
- Forgetting to save manually: Always confirm your snip is saved.
- Not checking clipboard settings: Screenshots may not copy correctly.
- Ignoring advanced features: Scrolling capture, delayed snips, and annotations are often overlooked.
Awareness of these pitfalls ensures smoother workflows.
Real-World Use Cases
- For Students: Capture lecture slides or diagrams instantly.
- For Professionals: Document workflows, errors, or presentations.
- For Gamers: Share gameplay highlights without third-party apps.
- For Designers: Annotate mockups directly on screenshots.
The Snipping Tool and its alternatives adapt to nearly any scenario.

Final Thoughts
The Snipping Tool has long been a reliable companion for Windows users. Yet, by mastering its shortcuts and exploring modern alternatives, you can elevate your screenshot game from basic to professional. Whether you need speed, advanced editing, or team collaboration, there’s a solution tailored for you.
In 2025, efficiency matters more than ever. So, start practicing these Snipping Tool shortcuts, explore the alternatives, and turn every screenshot into a powerful communication tool.
Interesting Reads:
Top 10 Alternatives to Cobalt Tool for Development Teams
Top 10 GI Bill Comparison Tools to Help Students and Veterans