WordPress is one of the most popular content management systems (CMS), known for its ease of use. However, there are times when you might need to switch to the HTML view to gain more control over the formatting, structure, or design of your content. This Blog will guide you through the process of switching to HTML view in WordPress, helping you optimize your website’s content creation and editing process.

Understanding WordPress Visual vs. HTML Editor
In WordPress, the default editor is divided into two views: the Visual Editor and the HTML Editor (also called Text Editor). Here’s what each does:
-
Visual Editor: This is the default, WYSIWYG (What You See Is What You Get) interface where you can add content using buttons and formatting tools. It’s user-friendly and designed for those unfamiliar with coding.
-
HTML (Text) Editor: This mode allows you to see and modify the raw HTML code behind the content. It’s perfect for users who need precise control over the structure of their posts and pages. You can add custom code, tweak formatting, or add embeds that might not be possible in the visual editor.
When to Switch to HTML View in WordPress?
You might want to switch to HTML view in WordPress in several situations, including:
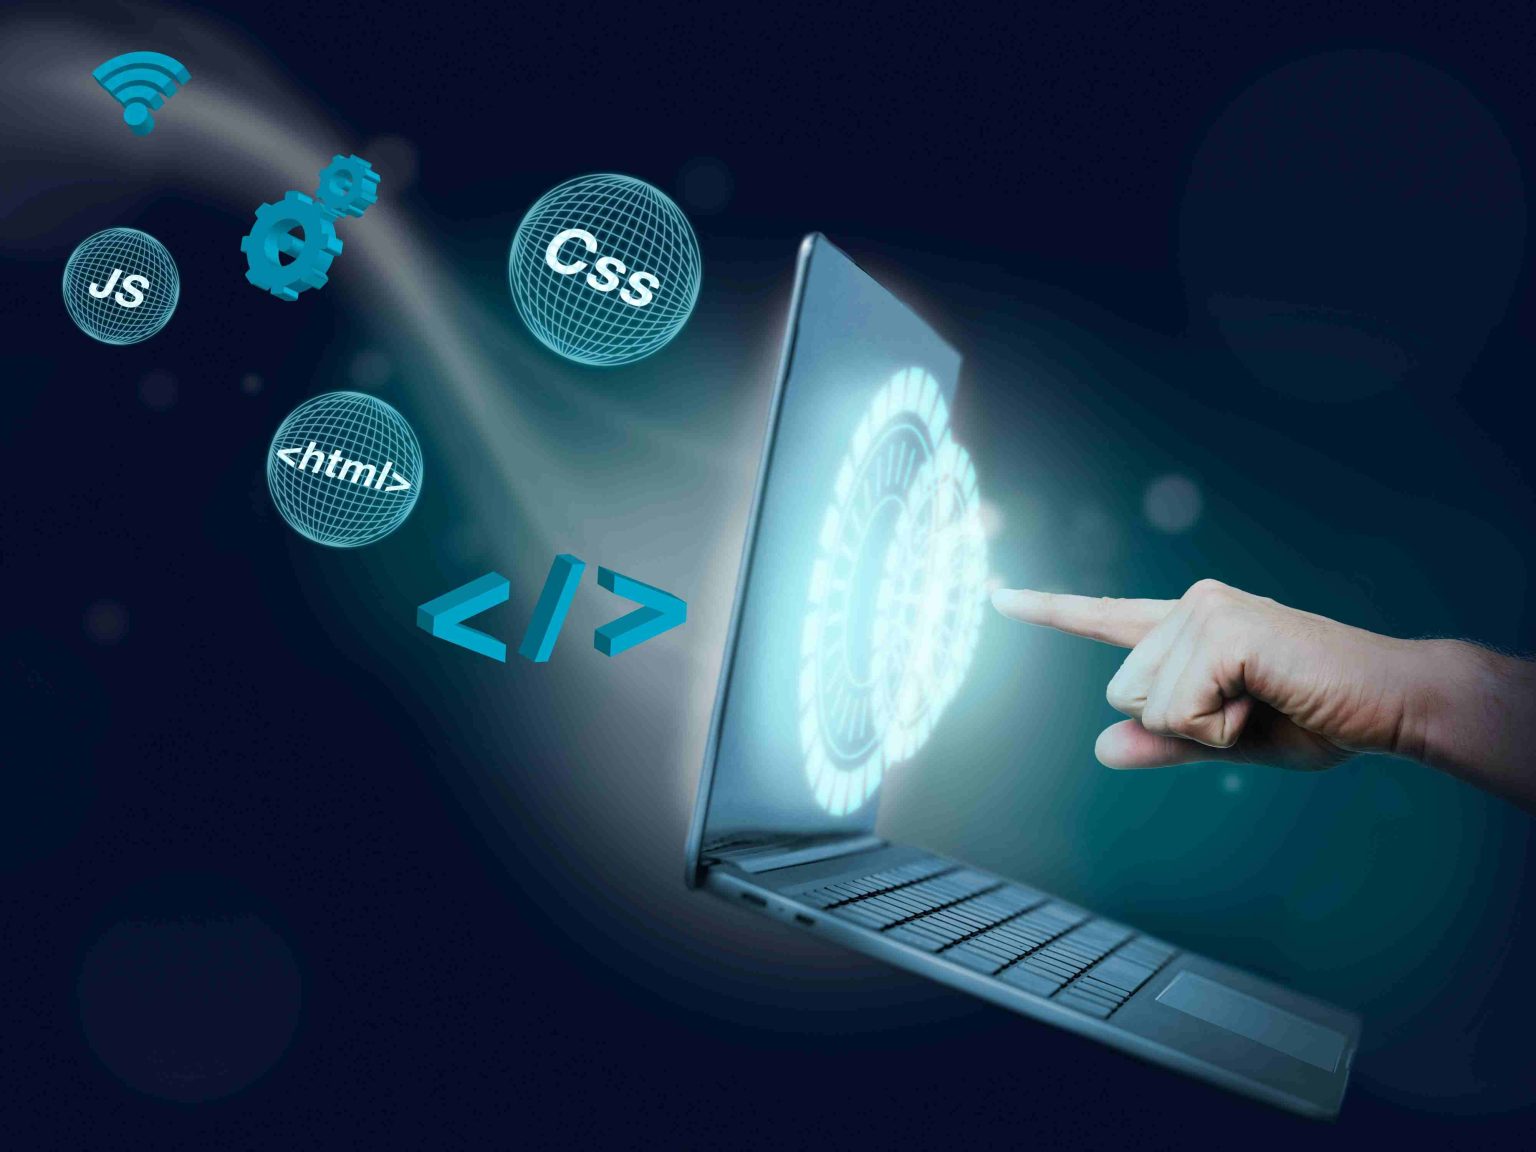
- Adding custom code: If you’re working with HTML, CSS, JavaScript, or even embedding third-party scripts, the HTML view is essential.
- Cleaning up formatting: Sometimes, WordPress can add unnecessary markup when copying and pasting from other sources. Switching to the HTML editor allows you to remove unwanted code.
- SEO adjustments: Adding structured data, meta tags, or other advanced SEO elements often requires working with the HTML directly.
- Troubleshooting formatting issues: If something doesn’t look right in the visual editor, switching to HTML might give you the insight you need to fix it.
How to Switch to HTML View in WordPress
Switching to the HTML view in WordPress is simple and straightforward. Follow these steps:
-
Log into your WordPress Dashboard
Start by logging into your WordPress admin area. Go to your site’s backend (admin area) using your credentials. -
Create or Edit a Post/Page
To begin, go to either Posts or Pages in the WordPress dashboard. Select an existing post/page or click “Add New” to create a new one. -
Switch to HTML View
In the WordPress editor, you’ll find two tabs at the top-right corner of the content editor: Visual and Text.- Click on the Text tab to switch to HTML view.
- Here, you’ll see the raw HTML code for your post or page.
-
Edit the HTML
Now you can add or modify the HTML code as needed. Whether you’re embedding custom code, cleaning up unwanted tags, or inserting meta data, the HTML view will give you full control. -
Switch Back to Visual View
After making your changes, you can return to the Visual tab to see how your content looks. WordPress will automatically render the HTML in the visual editor for easy viewing and further modifications.
Advantages of Using HTML View in WordPress
While the Visual Editor is user-friendly, there are significant advantages to using the HTML editor:
- Precision: You get full control over the HTML and can fine-tune elements that may not be possible with the Visual Editor.
- Advanced Formatting: You can insert complex HTML elements, such as forms, custom CSS, or inline styles, without restrictions.
- Better Code Cleanliness: When you switch to HTML view, it’s easier to spot and remove unnecessary code that might have been added by WordPress during the content creation process.
- Embedding Third-Party Tools: Certain tools like YouTube embeds, custom widgets, or other integrations require the use of raw HTML code.
Common HTML Tasks in WordPress
Here are some common tasks you can perform in HTML view that can greatly improve your posts:
-
Adding Custom HTML Elements
If you need to insert a custom HTML element (like a button, table, or form), the HTML editor is ideal for this. You can directly write the code and customize it to fit your needs. -
Inserting Media
While the visual editor allows you to insert images and media, switching to HTML gives you more control over how the media is displayed. You can set custom dimensions, add classes, or wrap the media in a specific HTML element. -
SEO Customization
Many SEO plugins like Yoast allow you to insert custom HTML code for meta tags or Open Graph data. In HTML view, you can easily add these codes directly to the content. -
Customizing Links and Embeds
WordPress allows easy linking and embedding, but with HTML view, you can make these links more customizable. You can edit anchor tags (<a href>) to add additional attributes like rel=”noopener” or target=”_blank” for better security and performance. -
Troubleshooting HTML and CSS
When you encounter issues with the page layout or CSS styles, switching to the HTML editor helps you spot problematic code, like misplaced closing tags or duplicate classes. You can also insert inline CSS if necessary.
What Happens if You Don’t Switch to HTML View?
If you choose to continue using the Visual Editor, you may run into some limitations, such as:
- Limited customization: While you can change fonts and colors easily, you won’t have the flexibility to add complex HTML or CSS code without switching.
- Overwritten code: Sometimes, if you paste HTML code in the visual editor, WordPress might automatically alter or strip out parts of it to ensure it fits the visual interface, leading to unwanted results.
- Difficulties in SEO: The visual editor doesn’t allow for custom meta tags, Open Graph tags, or other SEO improvements that might require HTML knowledge.
Best Practices for Editing HTML in WordPress
To ensure that you’re using HTML effectively in WordPress, follow these best practices:
-
Use a Child Theme
If you’re making changes to your theme files via the HTML editor, always work within a child theme to avoid losing your customizations when the theme updates. -
Preview Changes
After switching to HTML view, always preview your changes before publishing. HTML errors can cause issues with your site’s display, so it’s essential to check the output. -
Validate HTML Code
Before finalizing changes, validate your HTML code using tools like the W3C HTML Validator. This helps ensure your code is clean, functional, and compatible with all browsers. -
Backup Your Content
It’s always a good idea to back up your content before switching to HTML view, especially if you’re making significant edits. This can prevent any loss of content or errors during the editing process. -
Learn Basic HTML and CSS
To fully unlock the power of the HTML editor, it’s helpful to learn some basic HTML and CSS. This will allow you to tweak elements more effectively and improve your site’s design.

Summary
Switching to HTML view in WordPress provides immense flexibility and control over your content. Whether you’re making minor edits or fully customizing your post, HTML view is an invaluable tool for any WordPress user. With the right practices, you can enhance your site’s functionality, improve SEO, and create a more personalized user experience.
By understanding when and how to use the HTML editor, you’ll become a more proficient WordPress user. So, the next time you need to make a precise change or add custom code, don’t hesitate to switch to the HTML view!
Interesting Reads:
How to Make a Responsive Table in WordPress