Adding animated GIFs to your BuddyPress activity stream can significantly enhance the engagement and interaction within your community. The BuddyPress Giphy plugin makes it easy for members to express their feelings through GIFs. In this guide, we’ll walk you through the process of installing and configuring the BuddyPress Giphy plugin, as well as explore its settings and features.

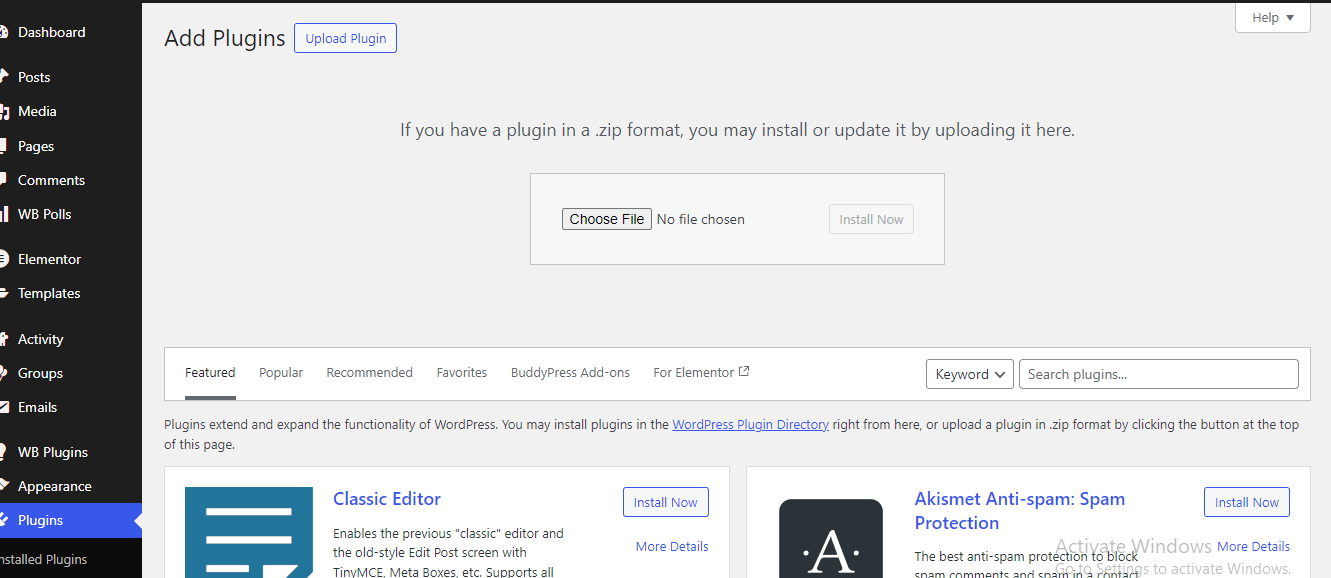
Step 1: Installing the BuddyPress Giphy Plugin
A)Log in to Your WordPress Dashboard
- Access your WordPress admin panel by logging in with your credentials.
B)Navigate to Plugins
- In the left-hand menu, hover over “Plugins” and click on “Add New.”
C) Search for BuddyPress Giphy
- In the search bar, type “BuddyPress Giphy” and press Enter.
D) Install the Plugin
- Locate the BuddyPress Giphy plugin from the search results and click on the “Install Now” button.
E) Activate the Plugin
- Once the installation is complete, click on the “Activate” button to enable the plugin on your site.
Step 2: Configuring the BuddyPress Giphy Plugin

After installing and activating the BuddyPress Giphy plugin, you’ll need to configure its settings to tailor it to your community’s needs.
A) Navigate to BuddyPress Giphy Settings
- In the WordPress dashboard, go to “Settings” and select “BuddyPress Giphy.”
B) GIPHY API Key
- This feature requires a GIPHY account. If you don’t have one, sign up at GIPHY.
- Once logged in, click on “Create an App” to generate an API key.
- Copy the API key provided and paste it into the “GIPHY API Key” field in the plugin settings.
- Example API Key: 6sqpvCWYJexgPTKPZ9R24jsr3jHLkXQd
C) Number of GIFs to Load
- Determine how many GIFs to display when the GIF icon is clicked.
- Enter the desired number in the “Number of GIF load” field.
- Example: 20
D) Max Content Rating
- GIPHY categorizes content based on ratings to ensure a safe search experience.
- Choose the appropriate content rating for your community
- Y – Illustrated content only
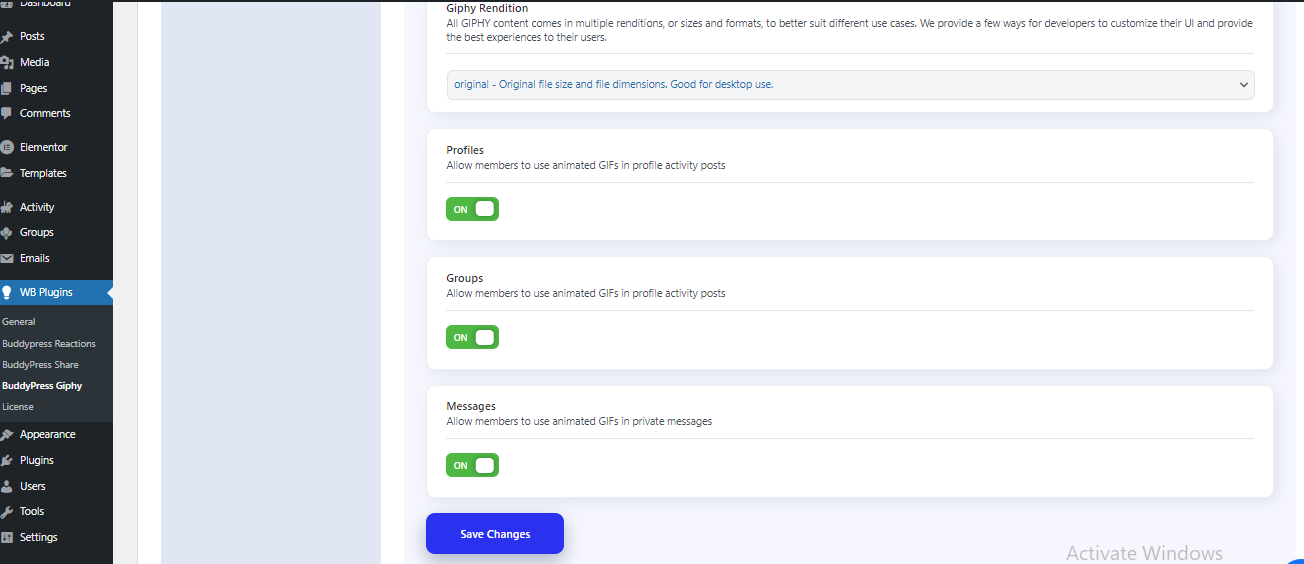
E) Giphy Rendition
- Select the rendition size for the GIFs. Different renditions suit different use cases:
- Original – Original file size and dimensions, ideal for desktop use.
F) Enable GIFs in Profiles
- Allow members to use animated GIFs in their profile activity posts by checking the corresponding box.
G) Enable GIFs in Groups
- Permit members to use animated GIFs in group activity posts by checking the corresponding box.
H) Enable GIFs in Messages
- Allow members to use animated GIFs in private messages by checking the corresponding box.
Step 3: Using BuddyPress Giphy

With the plugin installed and configured, your members can now start using GIFs in their activity posts, group posts, and private messages. Here’s how they can do it:
A) Posting a GIF in Activity Streams
- Navigate to the activity stream and click on the GIF icon.
- Search for the desired GIF using keywords.
- Select the GIF and it will be added to the activity post.
B) Using GIFs in Group Posts
- Go to a group and click on the GIF icon in the post editor.
- Search and select the desired GIF to include in your group post.
C) Sending GIFs in Private Messages
- Open the private messaging interface and click on the GIF icon.
- Search for a GIF and select it to include it in your private message.
Conclusion
The BuddyPress Giphy plugin is a fantastic tool to make your BuddyPress community more engaging and interactive. By following these straightforward instructions, you can easily install and configure the plugin, allowing your members to express themselves through animated GIFs. Enjoy a livelier and more expressive community experience!