A paid wordpress membership site is not a membership plugin problem. It is a coordination problem. You need the right theme handling the social layer, the right plugin handling payments and access control, and a way to make them talk to each other without custom code. This guide covers exactly that: Reign Theme plus Paid Memberships Pro, end to end.
By the end of this walkthrough, you will have a working setup with real membership levels, gated content, group access tied to membership tiers, Stripe billing, and a member upgrade flow. No shortcuts, no hand-waving. If you are still evaluating whether Reign is the right platform for your community, read our Reign Theme vs BuddyBoss comparison first.
Why Reign + Paid Memberships Pro
Paid Memberships Pro (PMP) is the most capable free membership plugin in the WordPress ecosystem. The core plugin handles membership levels, access control, payment gateways, and billing entirely for free. The paid add-ons extend it for enterprise use cases. Most community sites will never need the add-ons at all.
Reign Theme has a dedicated PMP addon that wires BuddyPress groups and member access directly to PMP membership levels. Without this addon, you would need custom code to make PMP level changes trigger BuddyPress group assignments. With it, the connection is automatic. For context on how Reign fits into the broader community platform landscape, see our article on BuddyBoss alternatives in 2026.
| Component | What It Does | Cost |
|---|---|---|
| Reign Pro Theme | Community layout, BuddyPress UI, member pages | $79 one-time |
| Paid Memberships Pro | Membership levels, payment gateways, access rules | Free (core) |
| Reign PMP Addon | Syncs PMP levels to BuddyPress groups, restricts community features by tier | Included with Reign Pro |
| BuddyPress | Groups, activity, profiles, messaging | Free |
Step 1: Install and Configure the Stack
Install in this order to avoid dependency issues. Getting the sequence wrong does not break anything permanently, but it creates extra configuration steps you can avoid by following this order from the start.
- Install WordPress and configure your site title, tagline, and admin email.
- Install BuddyPress from the plugins directory. Activate it and run through the setup wizard. Enable components: Activity Streams, User Groups, Extended Profiles, Notifications, and Private Messaging. You can enable additional components later without reinstalling.
- Install Reign Theme and activate it. Go to Appearance > Customize and configure your brand colors, header layout, and community page settings. Reign ships with multiple pre-built community layouts. Choose the one closest to your target design.
- Install Paid Memberships Pro from the plugins directory. This is free. Activate it and run the setup wizard. You will be prompted to configure your payment gateway during setup. Skip this and return after installation.
- Install the Reign PMP Addon. This ships with Reign Pro. Upload via Plugins > Add New > Upload Plugin. Activate after upload.
Required Pages
PMP creates several pages automatically during setup: Account, Billing, Checkout, Confirmation, Invoice, and Levels. Check that these were created under Pages and that none have conflicting slugs with BuddyPress pages. The most common conflict is PMP’s default Account page versus BuddyPress’s member profile pages, which also uses /account/ in some configurations. Rename the PMP Account page to /membership-account/ to avoid the conflict. Update the page reference in Memberships > Settings > Pages accordingly.
Step 2: Configure Membership Levels
Go to Memberships > Membership Levels > Add New. Create your tier structure here. A typical paid community uses three tiers. Adding more than three tiers at launch is usually a mistake. Members faced with too many choices choose none.
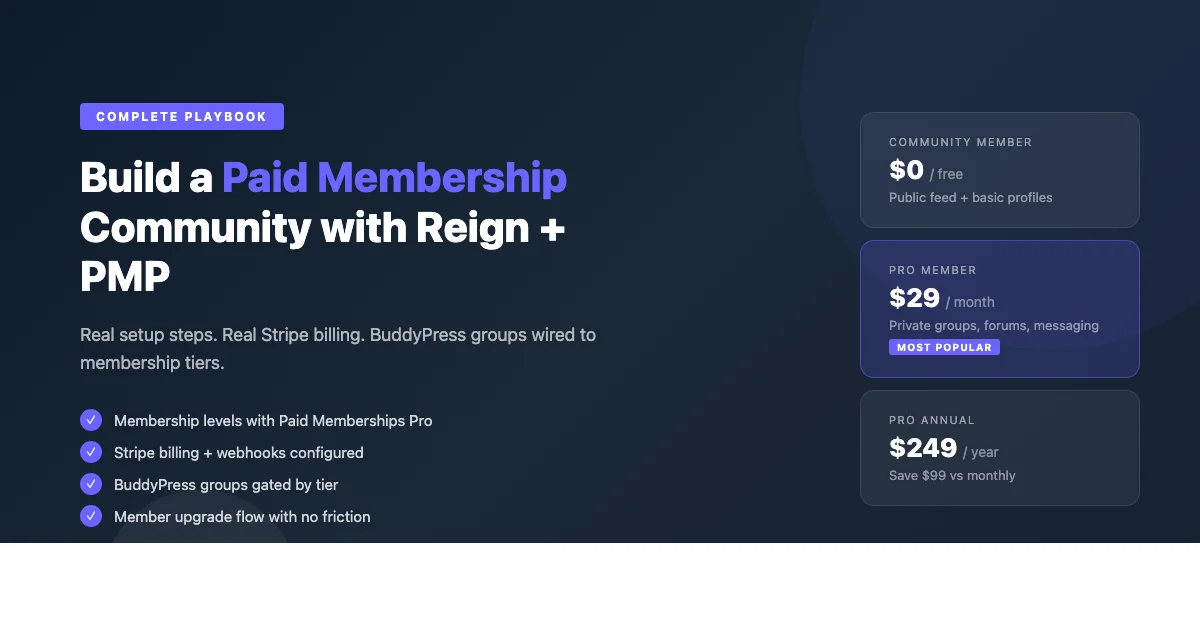
Free Tier (Community Member)
Level name: Community Member. Price: $0. Billing: None. This level gives access to the public activity feed, public groups, and basic profile features. Members can read but posting in premium groups is restricted. Set this as the default level for all registered users via Memberships > Settings > General > Default Membership Level.
Level Settings:
Name: Community Member
Initial Payment: $0
Billing Amount: $0
Status: Active
Content Access: Public areas only
Monthly Tier (Pro Member)
Level name: Pro Member. Price: $29/month. Billing: Monthly, recurring. This level unlocks private groups, forum posting, direct messaging priority queue, and any gated content on the blog. This is where most paying members will land. The $29/month price point is a common benchmark for small professional communities. Adjust based on your niche and member value.
Level Settings:
Name: Pro Member
Initial Payment: $0
Billing Amount: $29
Billing Period: 1 Month
Billing Limit: 0 (unlimited)
Status: Active
Annual Tier (Pro Member Annual)
Level name: Pro Member Annual. Price: $249/year. At $29 per month, the monthly plan costs $348 over a year. The annual plan saves members $99. Use this discount to encourage annual billing, which improves your cash flow and reduces churn. Operators typically see 20-40% lower churn on annual plans compared to monthly. Set this as a separate level rather than a billing cycle option, because PMP treats them as distinct levels and you can gate different content or perks to each.
Step 3: Configure Stripe Billing
Go to Memberships > Payment Settings. Select Stripe as your gateway. PMP supports Stripe natively without any additional plugin or extension.
- Create a Stripe account at stripe.com if you do not have one. Stripe is free to set up. It charges 2.9% plus $0.30 per successful transaction.
- In the Stripe dashboard, go to Developers > API Keys. Copy your publishable key and secret key. Use test mode keys during configuration and switch to live keys before launch.
- Paste both keys into PMP’s Payment Settings > Stripe configuration section.
- Enable “Stripe Webhooks” in PMP settings. PMP will generate a webhook URL for your site. Go to Stripe Dashboard > Developers > Webhooks > Add Endpoint and paste this URL.
- Select these webhook events: customer.subscription.created, customer.subscription.deleted, customer.subscription.updated, invoice.payment_failed, invoice.payment_succeeded.
- Save the webhook signing secret from Stripe into PMP’s webhook secret field. This authenticates that webhook calls are actually from Stripe.
Test the full payment flow using Stripe’s test card number: 4242 4242 4242 4242, any future expiry date, any 3-digit CVV. Complete a test membership signup and verify that the membership level activates on the user’s profile in your WordPress dashboard. Check that the confirmation email arrives. Verify the PMP Account page reflects the new membership status.
Step 4: Connect PMP Levels to BuddyPress Groups
This is where the Reign PMP Addon changes everything. Without it, PMP and BuddyPress are parallel systems with no communication. With it, membership level changes trigger group assignments automatically and immediately via WordPress hooks.
Create Your Tier-Based Groups
- Go to your community site > Groups > Create a Group.
- Create a group named “Pro Members” with status set to Private. Private groups are visible in the group directory but their content and member list are hidden to non-members.
- Create a group named “Pro Annual Members” with status set to Hidden. Hidden groups are not visible in the directory at all. Members only get access through the membership level assignment.
Configure the Addon Mapping
Go to Memberships > Reign PMP Settings. You will see a mapping interface with each PMP level listed alongside a group selector dropdown.
- Map “Pro Member” level to the “Pro Members” group. Set the action on membership cancellation to “Remove from group.”
- Map “Pro Member Annual” level to both “Pro Members” and “Pro Annual Members” groups. Annual members get access to both tiers.
- Save settings.
Test this by signing up for the Pro Member level using the Stripe test card. In your WordPress user list, find the test user and verify they appear as a member of the Pro Members group. Cancel the test subscription and verify they are removed from the group. This entire cycle should complete in under 60 seconds when webhooks are configured correctly.
Step 5: Gate Content by Membership Level
Post and Page Restrictions
In any post or page editor, scroll to the PMP meta box: “Require Membership.” Check the box and select which levels can access the content. Users without the required level see a teaser message and a link to the Levels page. Customize this message in Memberships > Page Settings > Membership Required Message. This teaser is your primary conversion surface. Make the ask specific: name the benefit, name the price, link directly to checkout.
Category-Level Restrictions
Restrict entire categories in Memberships > Settings > Content Settings > Category Access. Every post in a restricted category automatically requires the membership level. This is more efficient than setting restrictions post by post and ensures that new posts added to a premium category are automatically gated without any additional steps.
BuddyPress Community Restrictions
The Reign PMP Addon lets you restrict specific BuddyPress features by membership level. In Memberships > Reign PMP Settings > Feature Restrictions, limit who can post to the activity feed, create groups, and send direct messages. This creates meaningful value differences between free and paid tiers within the community itself, not just on gated blog content.
Step 6: Build the Upgrade Flow
The upgrade flow is the path a free member takes to become a paid member. Every friction point costs you conversions. The goal is to get from “I want to join” to “payment confirmed” in as few clicks as possible.
The Levels Page
PMP auto-generates a Levels page at /membership-levels/. Customize it with a Reign child theme template override. Create /page-templates/membership-levels.php, use Reign’s community layout wrapper, output PMP levels with pmpro_get_levels(), add a feature comparison table, and put the annual plan first as the visually highlighted default option.
Upgrade Nudges Inside the Community
In Reign > PMP Settings > Upgrade Prompts, enable contextual prompts for the Activity Feed (shown to free members after 5 posts), Group Directory (shown when a free member tries to join a private group), and Direct Messages (shown when a free member hits their message limit). Each prompt should link directly to the checkout page for the Pro Monthly level, bypassing the Levels page entirely. Every extra click between intent and payment reduces conversion.
Step 7: Configure Reign Template Overrides
PMP’s checkout and account pages use their own templates by default. Copy checkout.php, account.php, and levels.php from the PMP plugin directory into your Reign child theme under /paid-memberships-pro/. Edit each file to wrap the output in Reign’s community layout container (class: reign-community-wrap). This container applies the theme’s sidebar configuration, content width settings, and CSS variables automatically. The result is PMP pages that match your community design exactly rather than looking like generic plugin pages.
Step 8: Test the Full Member Journey
Before launching, test every path a real member will take. Use browser private windows to simulate different user states without logging out of your admin account.
- Anonymous visitor: View a gated post and confirm the teaser message appears with a link to the checkout page.
- Free member: Register a new account. Confirm the user receives the Community Member level by default. Confirm they cannot access Pro groups or gated content.
- Checkout flow: Complete a Pro Member signup using the Stripe test card 4242 4242 4242 4242 with any future expiry and CVV. Confirm the email receipt arrives, the membership level updates on the user profile, and the user appears in the Pro Members BuddyPress group.
- Cancellation: Cancel the test subscription from the Stripe dashboard. Confirm the webhook fires and the user is removed from the Pro Members group within 30 seconds.
- Annual upgrade: Upgrade the test account from monthly to annual. Confirm the user joins both Pro Members and Pro Annual Members groups.
Common Troubleshooting Issues
Members not added to groups after payment
This is almost always a webhook configuration problem. Check Stripe Dashboard > Developers > Webhooks and look for failed delivery attempts. Click into the event and review the response. A 401 error means the signing secret is wrong. A 404 means the webhook URL in PMP does not match your site URL. A 500 means there is a PHP error in PMP’s webhook handler. Enable WordPress debug logging temporarily to identify the specific error.
PMP Account page conflicts with BuddyPress
If you see a BuddyPress profile page loading at /account/ instead of the PMP account page, BuddyPress has claimed that URL. Go to Settings > BuddyPress > Pages and check the Account slug. If needed, go to Memberships > Settings > Pages and update the PMP Account page to use a different URL.
Gated content visible to logged-out users
Check your WordPress caching plugin. If full-page caching is enabled, a logged-in member’s view of a gated page may be cached and served to logged-out visitors. Exclude all PMP-gated pages from full-page caching, or use a caching plugin that is PMP-aware. WP Rocket’s PMP integration handles this automatically.
Limitations to Know
PMP does not include a native mobile app. If your members expect a branded app, you will need a third-party progressive web app solution or a separate mobile investment. PMP’s free tier does not include advanced revenue reporting. Member counts, churn dashboards, and MRR tracking require PMP Plus or a separate analytics integration. PMP does not integrate natively with Zoom. If live member calls are part of your community value proposition, a separate event or video plugin will be needed.
Get the Stack
Everything covered in this guide starts with Reign Pro. The theme includes the PMP addon, all community layout templates, and full BuddyPress component support. Paid Memberships Pro core is free from the WordPress plugin directory. Stripe charges 2.9% plus $0.30 per transaction with no monthly fee.